In my class if I am working on a topic which requires them to practice a method several times I will hand out a work sheet with say 20-40 questions on it. Instead of hving a class full of students asking me if they are doing it correctly, or even doing them all wrong they can use the controllers to get immediate feedback.
once a student has finished a question, they input their answer into the controller and will be told if their answer is correct. If it is they can then tick it off in their book, if it's incorrect they can try again and iff necessary ask for help.
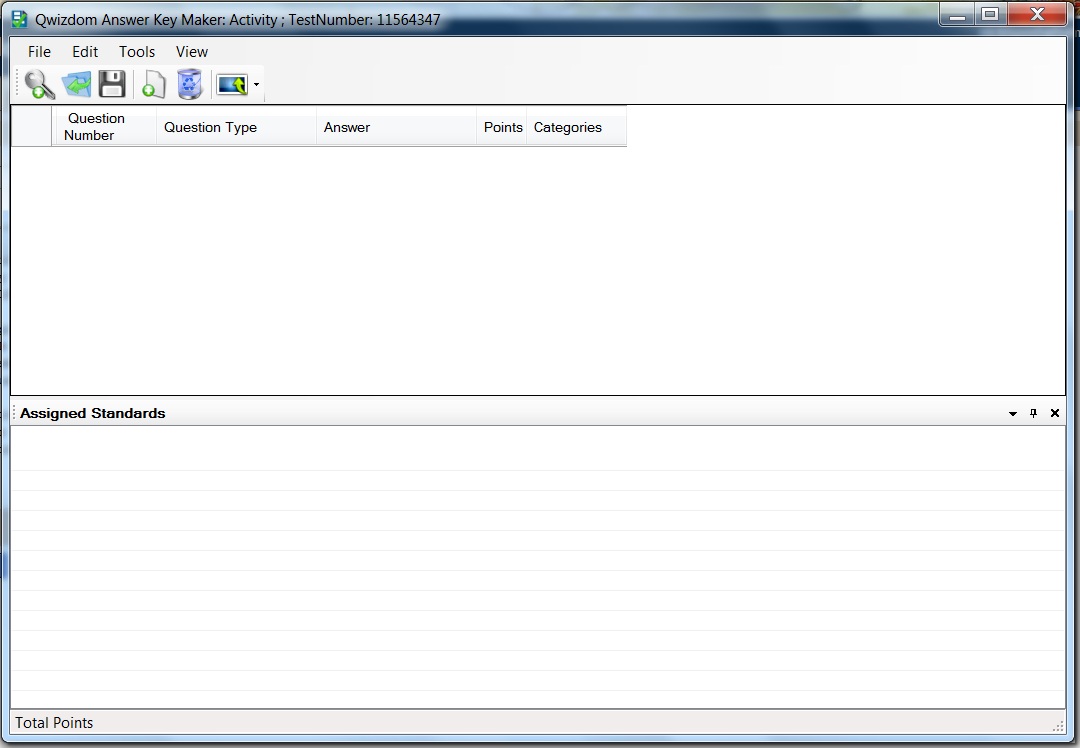
Load up Anskerkey and you will be greeted with this window:
For this guide suppose I have handed out the following questions on a work sheet:
Q1) 2+4 =
Q2) 3+7 =
Q3) 13-4 =
Q4) 23+14 =
Q5) 23-6 =
Q6) 3x4 =
Q7) 31x4 =
Q8) 7x3 =
Q9) 3+9 =
Q10) 3-8 =

We now need to tell Answerkey what the answers are to these questions. Click on the Insert icon:
An extra row should have been added to the answers grid:
Simply click where it currently says 'None' to change the Question Type, a drop down menu should appear:

Do the same to change for the Answer column, but a pop up window will appear instead just like in Action Point (if you have the old version of the software you just type in the answer, there is no pop up window).
Here I have filled in the answer to my question 1:

If you are using the Q5 remotes then leave the top box blank. I have been borrowing a set of Q6 remotes so I can make the question can appear on the screens instead of having to hand out sheets.
The bottom box will allow all answers within a certain range, even to a specified number of decimal places. This is ideal if using more complex trig or mechanics questions that might use rounded values in the working out.
When you are ready to launch an answer key session (I usually already have the students working through the questions at this point) click on the Present icon in the menubar:

The presentation setup window will pop up, this should see very familiar:

Finally check that the receiver info is displayed on the Login tab as below:

No comments:
Post a Comment